Drone-Data-in-Agricultural-Research
Setting Up (detailed instructions)
1. Install QGIS
To install QGIS, start by downloading the installation file for your operating system:
https://qgis.org/en/site/forusers/download.html
Please install the long-term release (most stable) version, which is currently QGIS 3.16.8 (Hannover). We recommend using a Standalone installer.
Installation is usually very straight-forward. More detailed instructions are available at https://qgis.org/en/site/forusers/alldownloads.html.
QGIS is available on Windows, macOS, Linux and Android. Please note that this workshop was developed and tested on Windows. The software appearance or behavior may differ slightly on other operating systems.
Launch QGIS. If it opens, you’re in business!
2. Download the Workshop Data
The data for the workshop have been zipped up into a single file which you can download from:
https://github.com/tnelsen/Drone-Data-in-Agricultural-Research/archive/data.zip
Be sure to take note where the zip file goes! (When in doubt look in your Downloads folder).
3. Unzip the Data
Unzip the data to a location of your choice (your Desktop or Documents folder are good options). Double-clicking a zip file will usually open it; you should then drag the contents out and put them somewhere. On Windows you can also right-click a zip file and choose ‘Extract’.
4. Start a New QGIS Project
- Open QGIS
- Under the
Projecttab selectNewto create a new project (Ctrl + N) - Under the
Projecttab selectSave As...(Ctrl + Shift + S) to save the project. Give it a name like multispectral_analysis.qgz.
-
Tip 1: You can save your QGIS project anywhere, but putting in the same location as the data folder will make it easier to find and move.
-
Tip 2: It is a good idea to regularly save projects while working on them (Ctrl + S).
5. Add a Raster Layer
Imagery from drones and satellites are generally saved in raster files (i.e., tif). A Raster Layer is simply a layer in your map that contains some raster data.
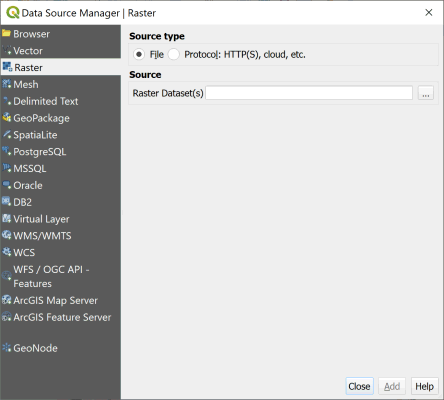
- Add a raster layer by going to
Layer»Add Layer»Add Raster Layer...(Ctrl + Shift + R). This opens the Data Source Manager.
-
Make sure the
Source typeradio button is selected to beFile. -
Click the
...button and find the Solano_2l20l20_index_ndre.tif file (in the downloadedDrone-Data-in-Agricultural-Research/example_datafolder). -
Choose
Addto add the image to the project, thenClosethe Data Source Manager.
6. Conclusion
Can you see the raster layer? If so, you’re done!
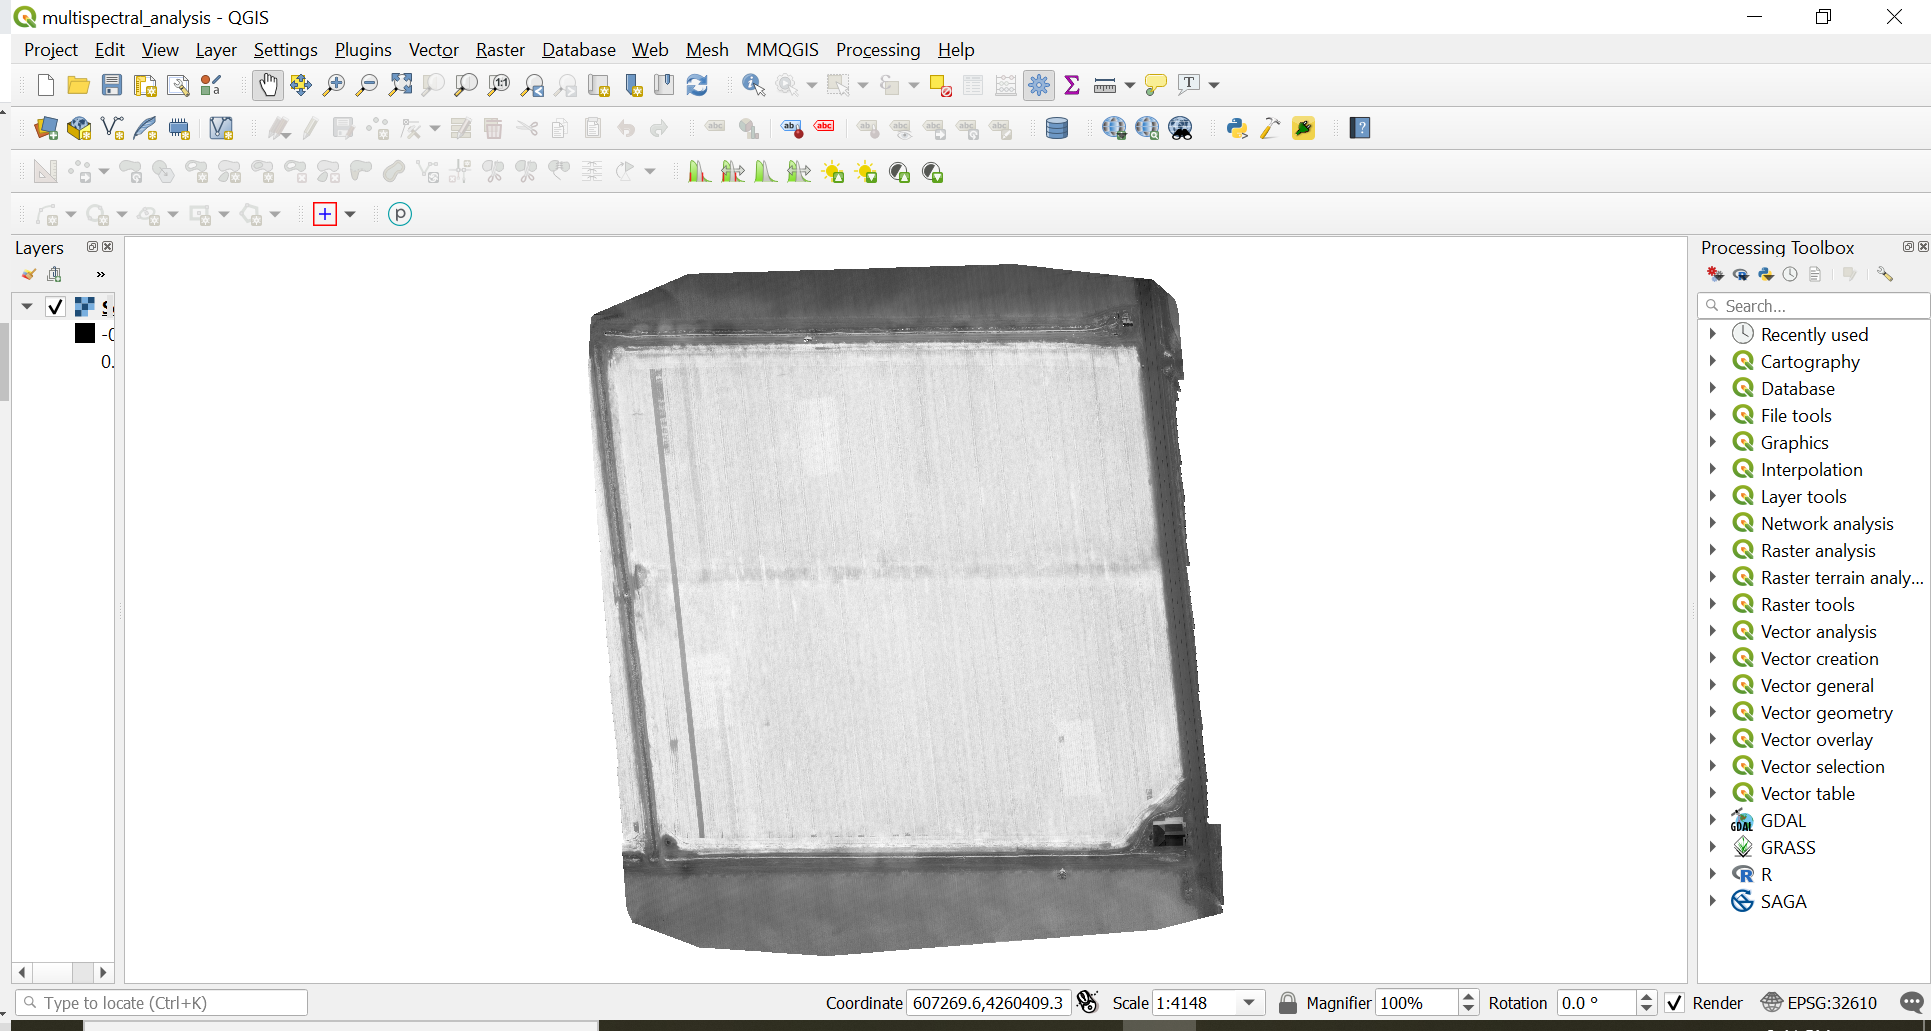
You are now ready to move onto Multispectral Data Visualization!